- +91 44 42764804
- info@TridentServiceLabs.com
- Trident Service Labs 65 Teachers Colony Adyar Chennai 600020


Processes
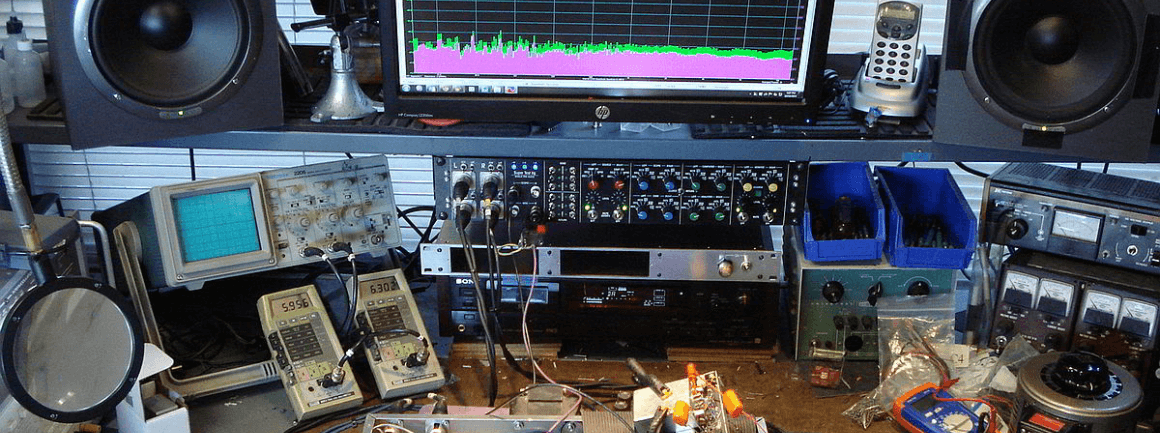
While each type of equipment (such as amplifiers and tape decks) would have different processes for repair and restoration, here’s a typical example of the process followed for examining a valve amplifier.
- Visual inspection of the top and bottom of , bottom cover off. Look for burnt resistors, leaking capacitors, open primary and secondary fuses, defective thermistor, defective rectifier diodes and other defective components etc., visually and electrically.
- Power the amplifier up in slow stages, with a Variac, to avoid shocking older electrolytic in the power supply, and to allow them to reform.
- Check all power supply voltages at the specified operating line voltage, according to manufacturer specifications
- Check all resistances at tube pins (when specified by manufacturer)
- Check All Electrolytic Capacitors for ESR (Quality), and Value using a Capacitor Analyzer
- Check audio coupling capacitors for leakage, quality and value
- Check all vacuum tubes on a calibrated Hickok tube tester
- Check bias current for all output tubes to ensure they are within normal range
- Check condition of input jacks and output terminal strips
- Check condition of switches and potentiometers
- Check for signal throughput and condition of output transformers – inject 1Khz signal at each channel input and check for output at each channel’s speaker terminals (loaded at 8 ohms). Check output transformers for continuity and winding shorts.
- Measure Output Power into 8 Ohm Loads.
- Measure sensitivity for full power output.
- Measure Channel Balance.
- Measure distortion (THD) @1Khz, half and full power output.
- Measure frequency response (20Hz,40hz, 100h,250Hz,500Hz,1Khz,5Khz,10Khz,15Khz,20Khz,25Khz 30Khz).
- System listening test – Assess quality of sound
- Issue Final Report to customer by Email or Call